Showing posts with label bs-7/d. Show all posts

05 November, 2011

It Runs!!!! Bridgestone BS-7 Content Inside

I got my NOS piston, ring, and head gasket in the mail this morning from http://www.scramblercycle.com/. So of course I immediately had to get them fitted to the bike. I still wasn't having much luck getting it to start, so I pondered. The carb sits at quite an angle on this bike, so I thought I might need to raise the float level up a little. I ended up going a bit too far, as it leaked out the overflow tube. But at least I knew it had plenty of fuel.

So I gave it a kick:


It fired right up and idle on the choke. After a few seconds it came off the choke and revved clean. Hell yeah! I still need to fiddle with the float level, and then I can run it down the road.

04 November, 2011

Bridgestone BS/7 Pics

I dragged the Bridgestone to work today, so I could grab a few pictures at lunch. One of our old steam rooms had some nice lighting:


I actually found a new piston and rings from a supplier. I might get them in the mail today. If so, I could have a running BS-7 for the first time shortly!

22 September, 2011

Bridgestone BS-7: More Shots

Just a few shots of the BS7. This time with a smaller side panel, and a little badge. This was the original badge from the front headlight housing, and it fits on my custom built housing.


Badge:

Front view:


17 September, 2011

Bridgestone BS-7: Front Fender and Side Cover

I got a bit of work done this morning on the Bridgestone. Actually, the front fender has been a multiple day process, as I was having a hard time finding a fender that would work. As it happens, I had a spare Yamaha fender in the spares pile. It was a full fender style, but was heavily mangled. So I chopped it up, then made a mounting bracket for it out of aluminum. It got paint this morning.

Front fender mounted, with a nice little front brake cable guide attached to it:

Speaking of cables, I made up a front brake cable, throttle cable, and a clutch cable from spares. I cut everything to length, then soldered on new end pieces. Everything routes nicely around the new headlight fairing. Oh yeah, I made a headlight fairing! It is a very thin piece of aluminum from a spot light shield. I managed to cut and shape it into something decent looking. It uses a small Honda C100 headlight:

On the other side of the bike, I made up a simple side cover that covers up the battery. It also has a mount for the on/off ignition switch. I currently have it in a lightly polished aluminum. It might look better red. I'm not sure yet:

Another view of the front fender, headlight housing, and side cover:


C'

10 September, 2011

Bridgestone BS-7: Exhaust Finished

I got out this morning, before it got hot, and worked on the exhaust. I wrapped it with exhaust wrap, then built a little aluminum heat shield. Nothing too exciting, but i fun to shape the heat shield out of some scrap aluminum sheet.


I also fit a new carburetor Thursday evening, as the original was acting goofy after I cleaned it out. I had a spare 20mm Keihin carb, but it is a bit bigger in overall outside dimensions compared to the stock 15mm that came on the bike. I built a new intake manifold that was just a tick shorter, and angled up about 5-degrees. This allowed the carb body to clear the frame on top, and the engine case on bottom.

I'll likely see if I can kick it over tomorrow morning.

C'

04 September, 2011

Bridgestone BS-7: Exhaust Options

A couple options for the exhaust on the BS-7.

The stock setup, with the original chrome downpipe and muffler. It weighs 9 pounds, plus a pound for the rather robust mounting bracket, and is very much built for low-end performance. It also makes it harder to package the rear brake lever and footpeg.

Something I cobbled together over the weekend. It uses an old S90 muffler as the basis, cut into pieces and welded back up into the desired shape. It is built to give peak power a bit higher up (6,000rpm) in the range. It comes in at 4 pounds, and mounts to an existing hole in the frame. I plan on wrapping it in exhaust wrap, and building a small heat shield to keep my right leg from getting burned.


I prefer the high pipe, as it will make more power, and gives more clearance.

21 August, 2011

Bridgestone BS-7: Engine Assembly, Back in Frame

I spent some time out in the garage yesterday, cleaning up engine cases, stators, and the cylinder barrel and head. By the end of it, I had an assembled engine ready to go back in the bike. First thing this morning, I got the engine mounted up.

Fan side of engine:

I also got the read wheel assembly re-mounted. The bike didn't have the proper rear axle spacer when I got it, so I had to modify a Honda part to fit. The space needed to be cut down a tad shorter, so the wheel was centered side-to-side properly, so the sprocket would line up with the sprocket on the engine:

Clutch side:


C'

18 August, 2011

Bridgestone BS-7: Inside the Engine

In preperation for some engine case cleaning and polishing, I pulled the left side case cover off. This is the case that covers up the clutch. It also houses the clutch depresser thingy the clutch cable attaches too (it pivots and moves inward to release the clutch.) And, this is where you fill the engine with oil, and drain it. So I was expecting some amount of gunk buildup. this is what it looked like:

Inside of case:

Looking at the end of the clutch basket:

View from under the clutch basket, showing the drive gear:


I didn't clean anything. Not even a wipe of a rag, or a spray of degreaser. Everything looks great.

C'

31 July, 2011

Bridgestone BS-7: Stripes

I started the process of putting down some stripes on the tank and seat of the BS-7. A simple stripe over the top, that also ties in some of the shape of the tank:


C'

13 July, 2011

Bridgestone BS-7: Tank and Seat

Yes, more pics of the Bridgestone tank and seat. After a few days of filling, priming, sanding, priming etc. Almost ready for paint.

I have no idea why I used white primer for the seat, as it makes it difficult to see it in the photos:

I also found the Sport 90 bars fit a bit better than the stock BS-7 bars turned upside down. slightly narrower, and a bit more pullback:


C'

22 June, 2011

More Bridgestone

Yes, another side view of the BS-7. This time, with a crudely crafted aluminum seat and tail section. Just to get an idea of how it looks, matched up with the tank:


I think the seat needs to be roughly 2-3" longer, as my butt will likely fit right on the seat above the rear shocks. But at least the look is coming together.

C'

20 June, 2011

Bridgestone BS-7: Tank Idea

The spare Bridgestone 90 Sport came with a fuel tank, which is an interesting shape not shared with the 90 Mountain and 90 Trail models. It is longer, lower, and somewhat pointy as shown below:


It happens to fit the BS-7 frame quite well, and extends backward about four inches more than the BS-7 tank. I think it could work with a cafe style seat. Oh, and a set of Honda Trail 70 rear shocks fit too, and are about 1/2" longer with a bit more stroke. I also like the exposed spring look.

C'

19 June, 2011

Bridgestone BS-7: Fiddling

So, what happens when a Bridgestone 90 sport front fork setup fits on a BS-7, with a little modification? This:


The stock BS-7 front fork setup is the older leading link style, with a pressed steal fork body. It happens to be severely mangled, so I either need to spend a weekend with some sheet metal and sheers, or find another front fork assembly. In the meantime, I wanted to see if this spare set of 90 Sport telescopic forks would fit.

I'm not sure why, but I'm losing interest in doing a "normal" restoration on this bike. I think it's because I'm already tired of cleaning old parts! And stripping paint, and sanding, and...you get the idea. Part of the fun of building something is to be able to take random spare parts and put them to use. In this case, I'm having visions of a replica 50cc racer. Something like these guys:


If I got his route, I'm going to have a goal of not modifying the frame or any of the BS-7 parts, that way if I ever decide to return it back to stock, I can. I'm thinking a custom tank, seat, and even a fairing. I know most of this stuff is available online, but it is all a bit expensive. So maybe I'll make the parts. Not sure how I'll make a fairing, but it could be a fun project.

C'

17 May, 2011

Bridgestone BS-7/D Engine "Unfrozen"

After removing the piston last night, I had decided to soak the crankcase on the Bridgestone with a mix of ATF and Acetone. This seems to be an internet phenomenon when it comes to a cheap and extremely effective penetrating fluid. As it happens, the Bridgestone BS-7 engine lent itself to this treatment because the center portion of the case that the crank rides in seems to be completely sealed. There is even a tiny little drain plug bolt under the engine that drains just this chamber.

So I filled up this area with the ATF/Acetone mix and let it sit for about an hour. I intended to soak it overnight, but after an hour I went out just to see how much I could rotate the crank. Before the treatment, I got about 5-degrees of rotation by turning the cooling fan back and forth by hand. After an hour, I was able to get another degree or two each time I went back and forth. After a minutes I got about 45-degrees of rotation.

So I let it soak a bit longer, then was able to turn it over a full 360. I drained the old fluid, added fresh fluid, and rotate the crank over several times. After a couple minutes, it turns freely with a single finger's worth of "force" on the fan assembly. I snapped a few pictures.

Central galley where the crank rides:


Circumference of crank is very clean, with no signs of corrosion. The needle bearings on the big end were even shiny:


A bit more progress each day.

C'

15 May, 2011

Bridgestone BS-7/D Engine "Unfreezing"

The engine on the BS-7 was a bit stuck, so I had been soaking the upper end in penetrating fluid for a couple weeks. Thanks to a little mount I built, I was able to have the engine sitting "piston up" on my work bench. And luckily, the piston was high enough in the cylinder that the intake/exhaust ports were covered up, so the penetrating fluid was able to do its job.

I was able to move the cylinder a little bit by hand, but I needed a little bit of persuasion from a simple puller tool. Thanks to the longish cylinder studs, I was able to pull up on the barrel using a gear puller. I was very careful not to pull up on a cooling fin, and instead used the beefier intake and exhaust port castings:


Success! Don't be fooled by the color of rust, the cylinder is surprisingly free from corrosion and scratches. I think it will hone quite nicely. Also, the piston is very clean too. The piston pin clips are a bit corroded, so I'm soaking them in fluid too. I'm thinking a set of clips from a Honda 50 engine will work as a replacement:


The engine isn't entirely "unstuck" yet though. The connecting rod only moves a little bit with light pressure, so I'm assuming the bottom end has some corrosion issues too. Which is somewhat surprising, as the oil I drained out of it looked perfectly clean. It looks like this engine will require some internal work to bring back to life.

C'

28 April, 2011

Bridgestone BS-7/D Has Come Home

The little Bridgestone BS-7/D came home yesterday. It has been sitting at work for a few years, pateintly waiting it turn. This will be a nice "simple" restoration. No mods, no building it into a cafe racer. Random photos below, with a few captions on the detail shots:


"Passenger" side front fork housing has been crumpled. This could be a bit of a job to straighten out:


Love the brake and turn light combo housing:


More detail on the smooshed fork housing:


This confirms it is a BS-7/D. "D" standing for Deluxe model:


Every other bike I have just has a harness that connects to itself. This little bike uses a small distribution panel:


Love the fact the terminals are coded:


Tiny little carb:


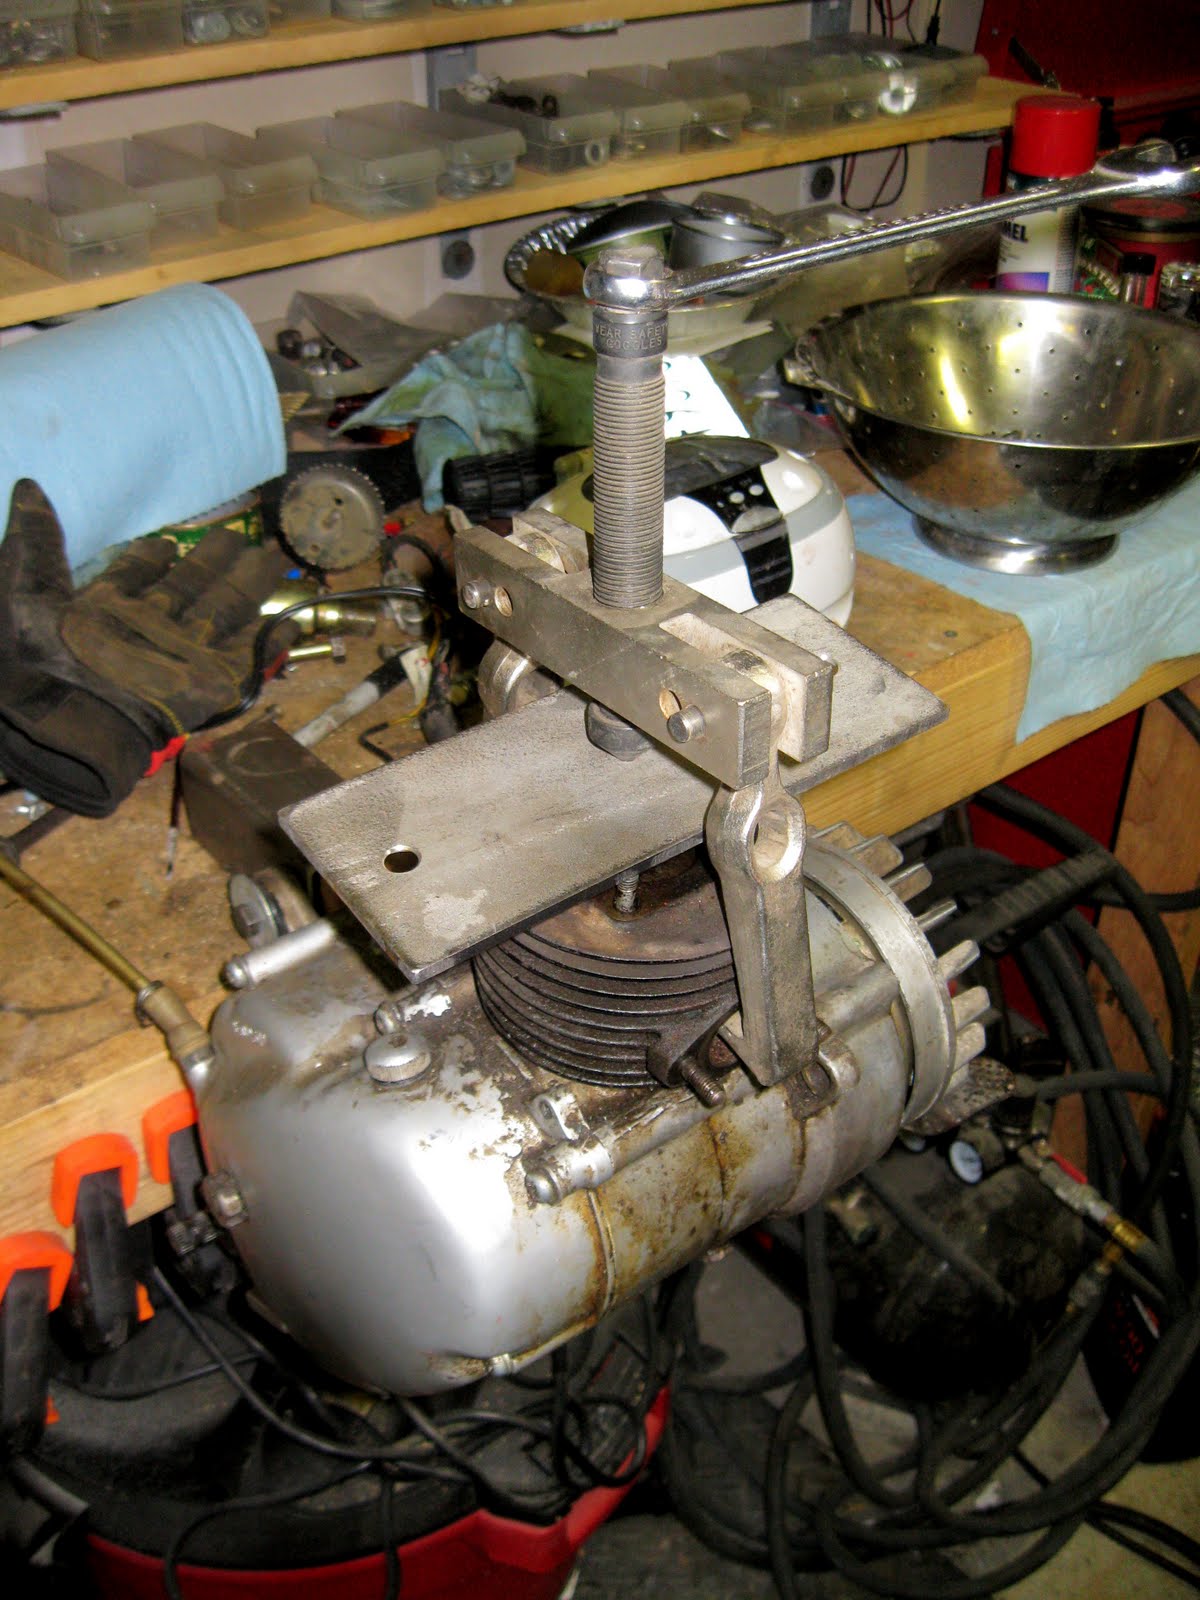
This motor uses a small fan attached to the end of the crank to cool the cylinder and head:


Intake screen for fan mounted on driver side cover:


Clock shows just over 4,000 miles:


Most bright work is very nice:


This is going to be a nice slow project over the spring and summer.

C'