23 May, 2015

Freddy Engine and Trans Removal

I decided to use this long weekend to get started on removing the engine and trans from Freddy.  Despite only having about 1,500 miles on the trans since it was installed in 1992, it's very grumbly in 3rd and 4th gear, with a lot of noise under gentle acceleration.  So I put on my grubbies and boned up on my favorite cuss words for this messy task.

Engine removal was pretty straightforward, except for the starter.  One nut and one bolt that are pretty impossible to get at with normal tools, especially since Freddy uses lower motor mounts.  My new load leveler engine brace worked great, making it very easy to the engine up and out.

Removing the transmission was also fairly easy, until I actually had to lift it out.  Snatching 76 pounds from ankle height up to chest level, and then stepping over the radiator and front support while still holding it at chest level was a task.  As my neighbor can attest to, I apparently screamed out "damn dirty whore" in the middle of that motion, giving me the inspiration I needed to complete that task.

Best part?  Finding about five pounds of rat shit littering the engine bay floor.  This is going to be a fun cleaning job.


17 May, 2015

New Tools and DKW Work

I splurged on a few new tools for upcoming projects. One is 1/2" sander that worked great this morning. Very easy to use in tight spots, easy to change belts on etc.  

I also picked up a load leveler, which I'll be using as an engine hoist for pulling the motor out of Freddy, in preparation for swapping the transmission. Seems fairly robust, and just the right size.  It's also adjustable so you can tilt the engine one way or the other while it is suspended, in case you need to wiggle it a little bit.  My old "hoist" for the FV motor was a pair of straps, and any wiggling meant wiggle by armstrong, whilst trying to keep things from crashing about.


I haven't posted much about the DKW project, since I've been working on Freddy. But this weekend I finished up all the welding and metal cleanup. It will only require s little bit of body work to fill in a few nicks and scrapes. The new 1/2" sander worked great for getting into tight spots.


09 May, 2015

Meyers Lemon Martini

A refreshing martini to enjoy while I watch a little golf. Fresh squeezed Meyers lemon, mint and basil before a quick shake.

Comparison

I parked next to a CRZ yesterday, whilst at OSH getting a new toilet flapper.  One of these two-seaters moonlights as a minivan on weekends, by the size of it.


23 March, 2015

Fog Lights Installed

I treated Freddy to some Hella 500 fog lights over the weekend.  Install was fairly easy, once I cut a little metal out of the way that held the old rectangular turn signals in place.  These units fit perfectly in the grill opening, between the tow bar mounts and body work.

Wiring the fog lights was easy enough, once I sorted out the fuse box under the dash.  The original owner, Fred Champion, must have added some lights or speakers to Freddy at some point, because there were several "spliced wires" under the dash that were simply two ends of wire twisted together, with no tape or crimp on connections.  All sorted now.

I also mounted the small LED front turn signals to the front grill bar.  You can just see them in the picture.  Being LED, they didn't draw enough current for the stock flasher relay to activate.  So no blinky blink.  But luckily Pep Boys carries multiple types of LED Electronic flasher units, that literally plugged into place.  Overall, I think it is a nice clean look.


14 February, 2015

1968 Saab Sonett II V4 - Fast Freddy

It's about time I posted about my recent acquisition, Fast Freddy.  A 1968 Saab Sonett II V4, that's been in the family since around 1990 or so, previously owned by Fred Champion.  Fast Freddy was our autocross car during most of my High School and College days, and was in fact my High School senior project.  Stepbrother Mark purchased it from Jack about 10-12 years ago, and apparently drove it maybe 500 miles in that time period.

The past month I've spent most of my time getting Freddy back in condition for road use.  The stock gas tank was horribly rusted, so I just got done installing the 5-gal aluminum tank we used for racing, along with new filters and hose throughout.  Freddy can actually make a long pull in 3rd and 4th gear, without running dry of fuel!

Other than that, I've done lots of other projects, like converting it over to a coilover sleeve suspension setup, making a new exhaust, and installing a new interior upholstery kit.  He's coming along nicely, and is of course very fun to drive.  He's still a little loud, so I'm going to revise my exhaust design with a pair of "turbo" style chambered mufflers I found.  They only measure 3-1/4" thick, which is actually thinner than the glasspack muffler under the car now.

After that project, I'll probably turn my attention to the engine bay, and start doing some clean-up work.  Freddy was always a race car, so he's just sorta grungy right now.

Pics as of now, sitting on his new Rota RB wheels:


front suspension setup, new coilover sleeves buillt

Grungy fuel filter, after only 20 miles of use


5gal AL tank installed, new smaller battery, new smaller spare tire


rear coilover kit I built

rear installed

26 December, 2014

DKW Progress: Seat building

I'm finally feeling good enough to work in the garage, so I started the cafe seat for the DKW project bike.  This time I'm building it out of metal, not fiberglass.  While I enjoy the quick shaping of fiberglass, I get tired of spending week after week sanding bondo to get it to look nice.  So I'm hoping sheet metal will leave me with much less finish time.


03 November, 2014

Benson: Final Beauty Shots

Nothing too fancy, just a few shots in the driveway of Benson, now that he is officially finished. I finally sorted out a muffler to help quiet the insane racket he bellowed out of his tuned pipe.  Mr. A also gifted me a pair of hand painted tank badges for my birthday, which look great!

So just to recap. this was my first scratch built frame.  Constructed out of 5/8" tubing, I built the frame using a simple wooden jib I fashioned up.  I raided the parts bin for the main components, like the Yamaha GT80 engine, Honda S90 tank, forks, swingarm, and hubs.  I think the headlight is off a Bridgestone 90, and the seat was of course built from poplar wood, is despite its chunky appearance is quite light thanks to be mostly hollow inside each layer.

Wheels are 2.15x18 aluminum rims laced to S90 hubs, sporting Shinko 244 tires in 3x18 size.

I went a little crazy with the engine, upping compression from a meager 7:1 up to around 10:1 thanks to shaving down the head and fitting a slightly domed piston.  I also opened up the intake and exhaust ports, and did a little filing on the piston to change the port timing per some race specs I found for old 80cc Yamaha engines.  It really does scream.  Well, as much as say 10-12hp or so, by my estimate.  Which is a lot more than the 4.9hp it made stock, with the tiny little carb.

Speaking of, yes, I have an air cleaner for it.  But it is currently sitting on the DKW acting as a space saver during mock-up.


01 November, 2014

DKW Coming Along

Yes, I've worked on the DKW some the past month.  But it has all been little jobs, that don't really lend themselves to photos.  Today I finished a seat pan, using an old crusty pan from a leftover Bridgestone project.  It fits snugly over the new frame, and will give a bit of an air gap for the under-seat mounted exhaust.  

I've also built up the exhaust, but to finish welding it so it is presentable. 


27 September, 2014

DKW Mocking Up

I started getting busy on the DKW project.  Since just restoring bikes a is a bit boring, I've decided to build it into something fun.  Have no fear DKW purists, I won't be chopping up the original hard to find parts, like the stock front and rear shocks, chrome fenders, or tank.  But I have decided to chop the frame a bit.  

After chopping off the rear portion of the frame, now I need to mockup what I'll be building:

I've also been busy cleaning up and building the hub assemblies.  I pulled the brakes completely apart and ran all the small bits through the small tumbler I have:

Yes, speedholes.  This is the front hub, complete with cooling holes and fancy little mesh screens I built using some screen, a washer, and a press to create a "cup" shape to the screen, so it fits into the holes. Then it got epoxied into place:

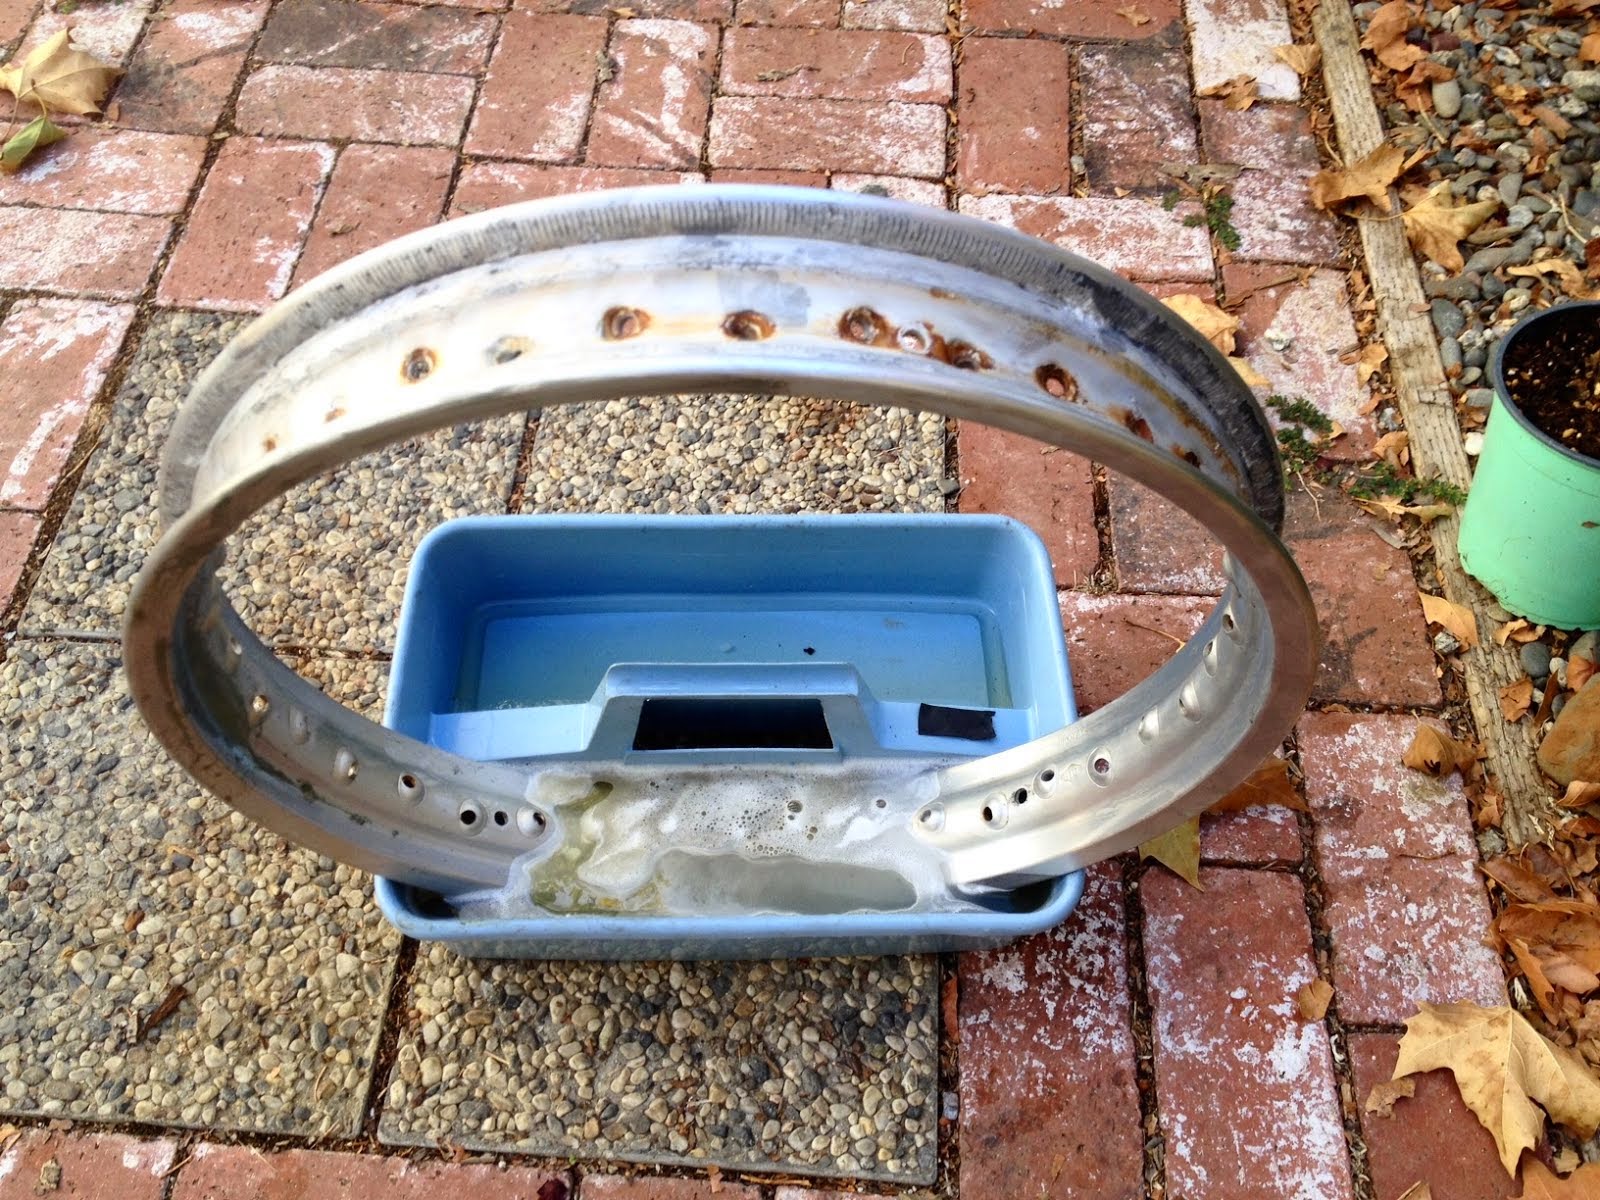
The 18x2.15 AL rims have an anodizing coating on them.  Instead of spending a week sanding through it, I've used some easy chemical solutions to effectivelly dissolve it.  Then I can clean it up.  I'm not going with a full polish, but instead opting for a smooth finish using 000 steel wool and WD40:

The rear portion of the frame after chopping it off.  This was by far the ugliest part of the bike:

The rear hub and wheel assembly.  Steel wool and WD40 give the AL parts a nice finish.  I used new zinc coated spokes intended for a Honda CL90.  Just the right length at 160mm.  I got pretty lucky mocking these up with some older CL90 spokes, and sure enough the length was just right.  The bike oriignally came with a 21" front wheel and 18" rear wheel.  I'll be running 18" all around:

I've modified the Earles front forks a bit.  I needed to lower the front end a couple inches, and didn't want to molest the stock Boge shocks.  I happen to have these Fastace pit bike shocks, so I fabbed up new upper shock mounts.  I'll have quite a bit of height adjustment using these units: